
I bought these cute little pinch frames (sometimes called snap frames) for a sewing project and then today thought – you know there is no reason I couldn’t use them for a cute crochet mini purse as well!

Add a long strap to carry it as a cross body, a short one to hang it to the inside of your purse or tote bag, or use it just as is to carry your card, cash and chapstick!
This post may contain affiliate links. If you make a purchase using one of these links I may be compensated at no additional cost to you.
This post is part of the 2026 International Crochet Month blog hop sponsored by Underground Crafter.
Check out her post for more information and to find out how you can enter to win a prize!

Click here to grab your free PDF copy through March 10 at noon Eastern on Ravelry.
Finished Size: 4 ½” wide x 5” tall when assembled
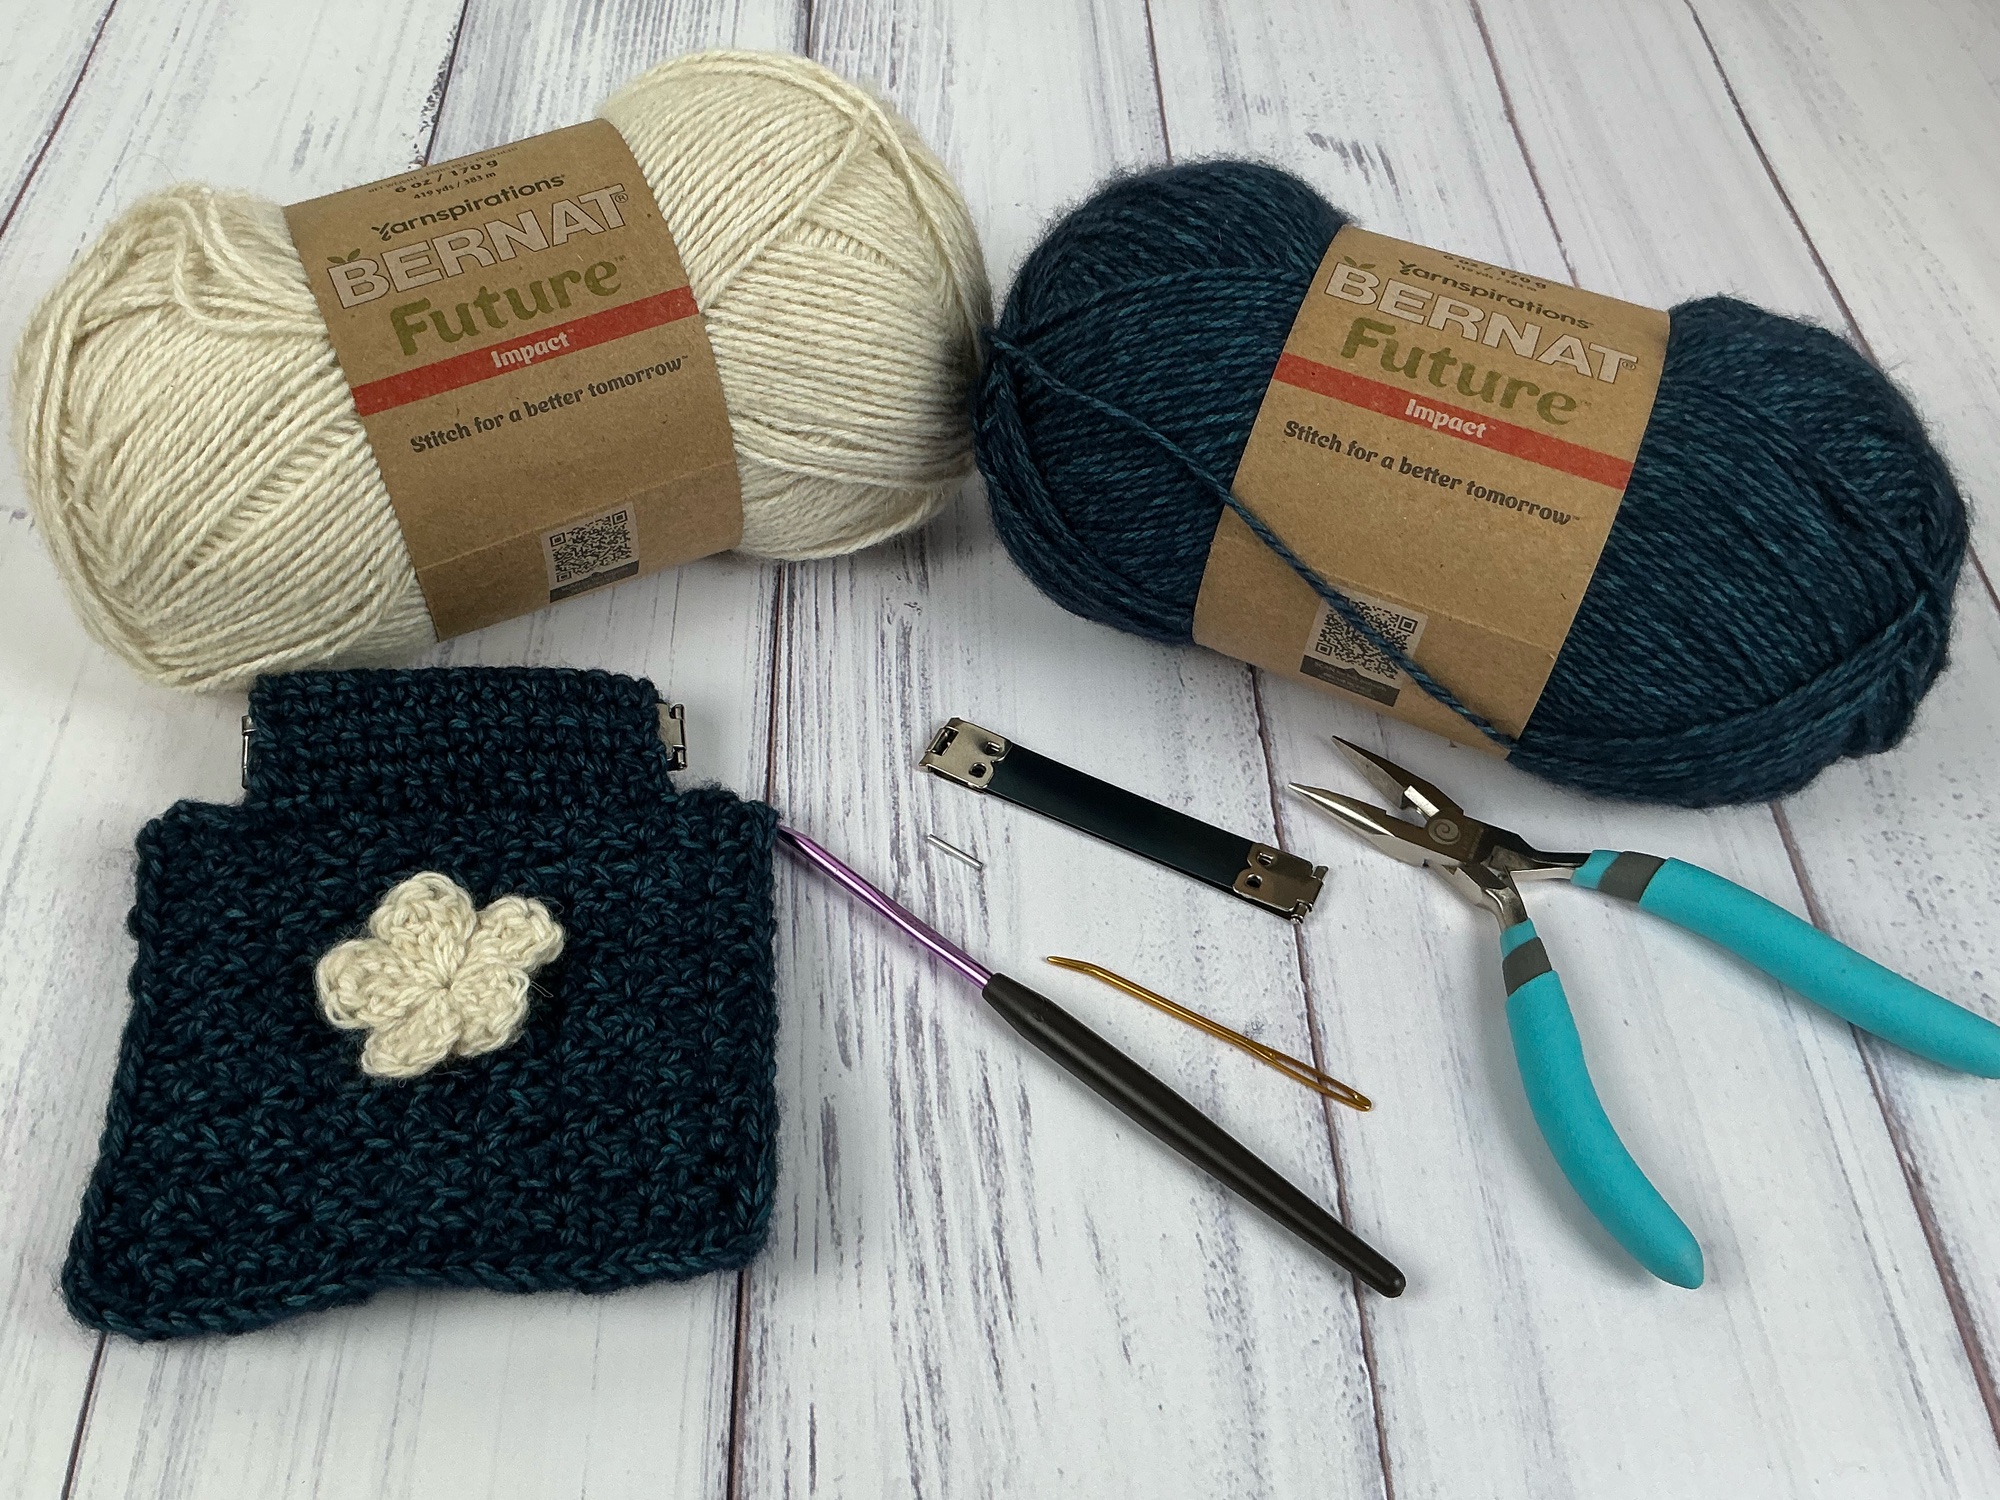
Materials:
Small amounts worsted weight (CYCA 4, Medium) yarn in a cotton or cotton blend. Model shown in Bernat Future Impact (52% recycled acrylic/28% recycled polyester/20% recycled cotton; 6 oz; 419 yds) in Ocean (color A) and Natural (color B)
Crochet hook size G/6/4.0mm or size needed to obtain gauge
Yarn needle
Pinch Purse/Snap Frame – 4” wide. (I got mine on Etsy)
Small needle nose pliers to secure Frame (the linked pink ones are from Lowe’s)
Gauge: 10 sts x 8 rows = 2” in pattern st. While gauge is not critical for this pattern you want a nice tight fabric so it doesn’t stretch out with use, and you want to make sure it fits onto the snap frame you have. A little fudging here and there will not hurt though!
Notes:
While I know some of you will complain that there is seaming involved and I did not make this in the round, in addition to annoying you, seams help with structural integrity and I will die on this hill J If you want your little purse to actually carry things and not stretch all out of shape the first time you use it, seams will help!
The stitch pattern is reversible- there is no RS/WS noted.
Front and Back: Make 2:
With A, ch 23.
Row 1: Sc in 2nd ch from hook and in each ch across. Ch 1, turn. 22 sc
Row 2: 3 sc in first sc, *sk 2 sc, 3 sc in next sc. Rep from * across. Ch 1, turn. 24 sc
Row 3: Sk first sc, 3 sc in next sc, *sk 2 sp, 3 sc in next sc. Rep from * across. Ch 1, turn.
Rows 4 – 16: Rep Row 3.
Row 17: Sl st in each of first 4 sc, ch 1, sc in each of next 16 sc. Leave remaining sts unworked. Ch 1, turn. 16 sc
Row 18: Sc2tog, sc across until 2 sts remain, sc2tog. Ch 1, turn. 14 sc
Rows 19 – 27: Sc in each sc across. Ch 1, turn.
End off after Row 17 leaving a long tail for sewing.
Flower Embellishment:
With B make a Magic Ring. Ch 1, sl st in ring.
Rnd 1: (Ch 2, dc, tr, dc, ch 2, sl st in ring) 5 times. End off leaving a long tail for sewing. Tighten ring and secure first tail and weave in that end.
Assembly:
Fold down top of each piece so the top edge lines up with Row 17 and whip stitch into place using the long tail. Leave the side edges open.
Stitch Flower Embellishment to center of one piece, using the long tail. Weave in that end.
Single crochet the two pieces around three sides.
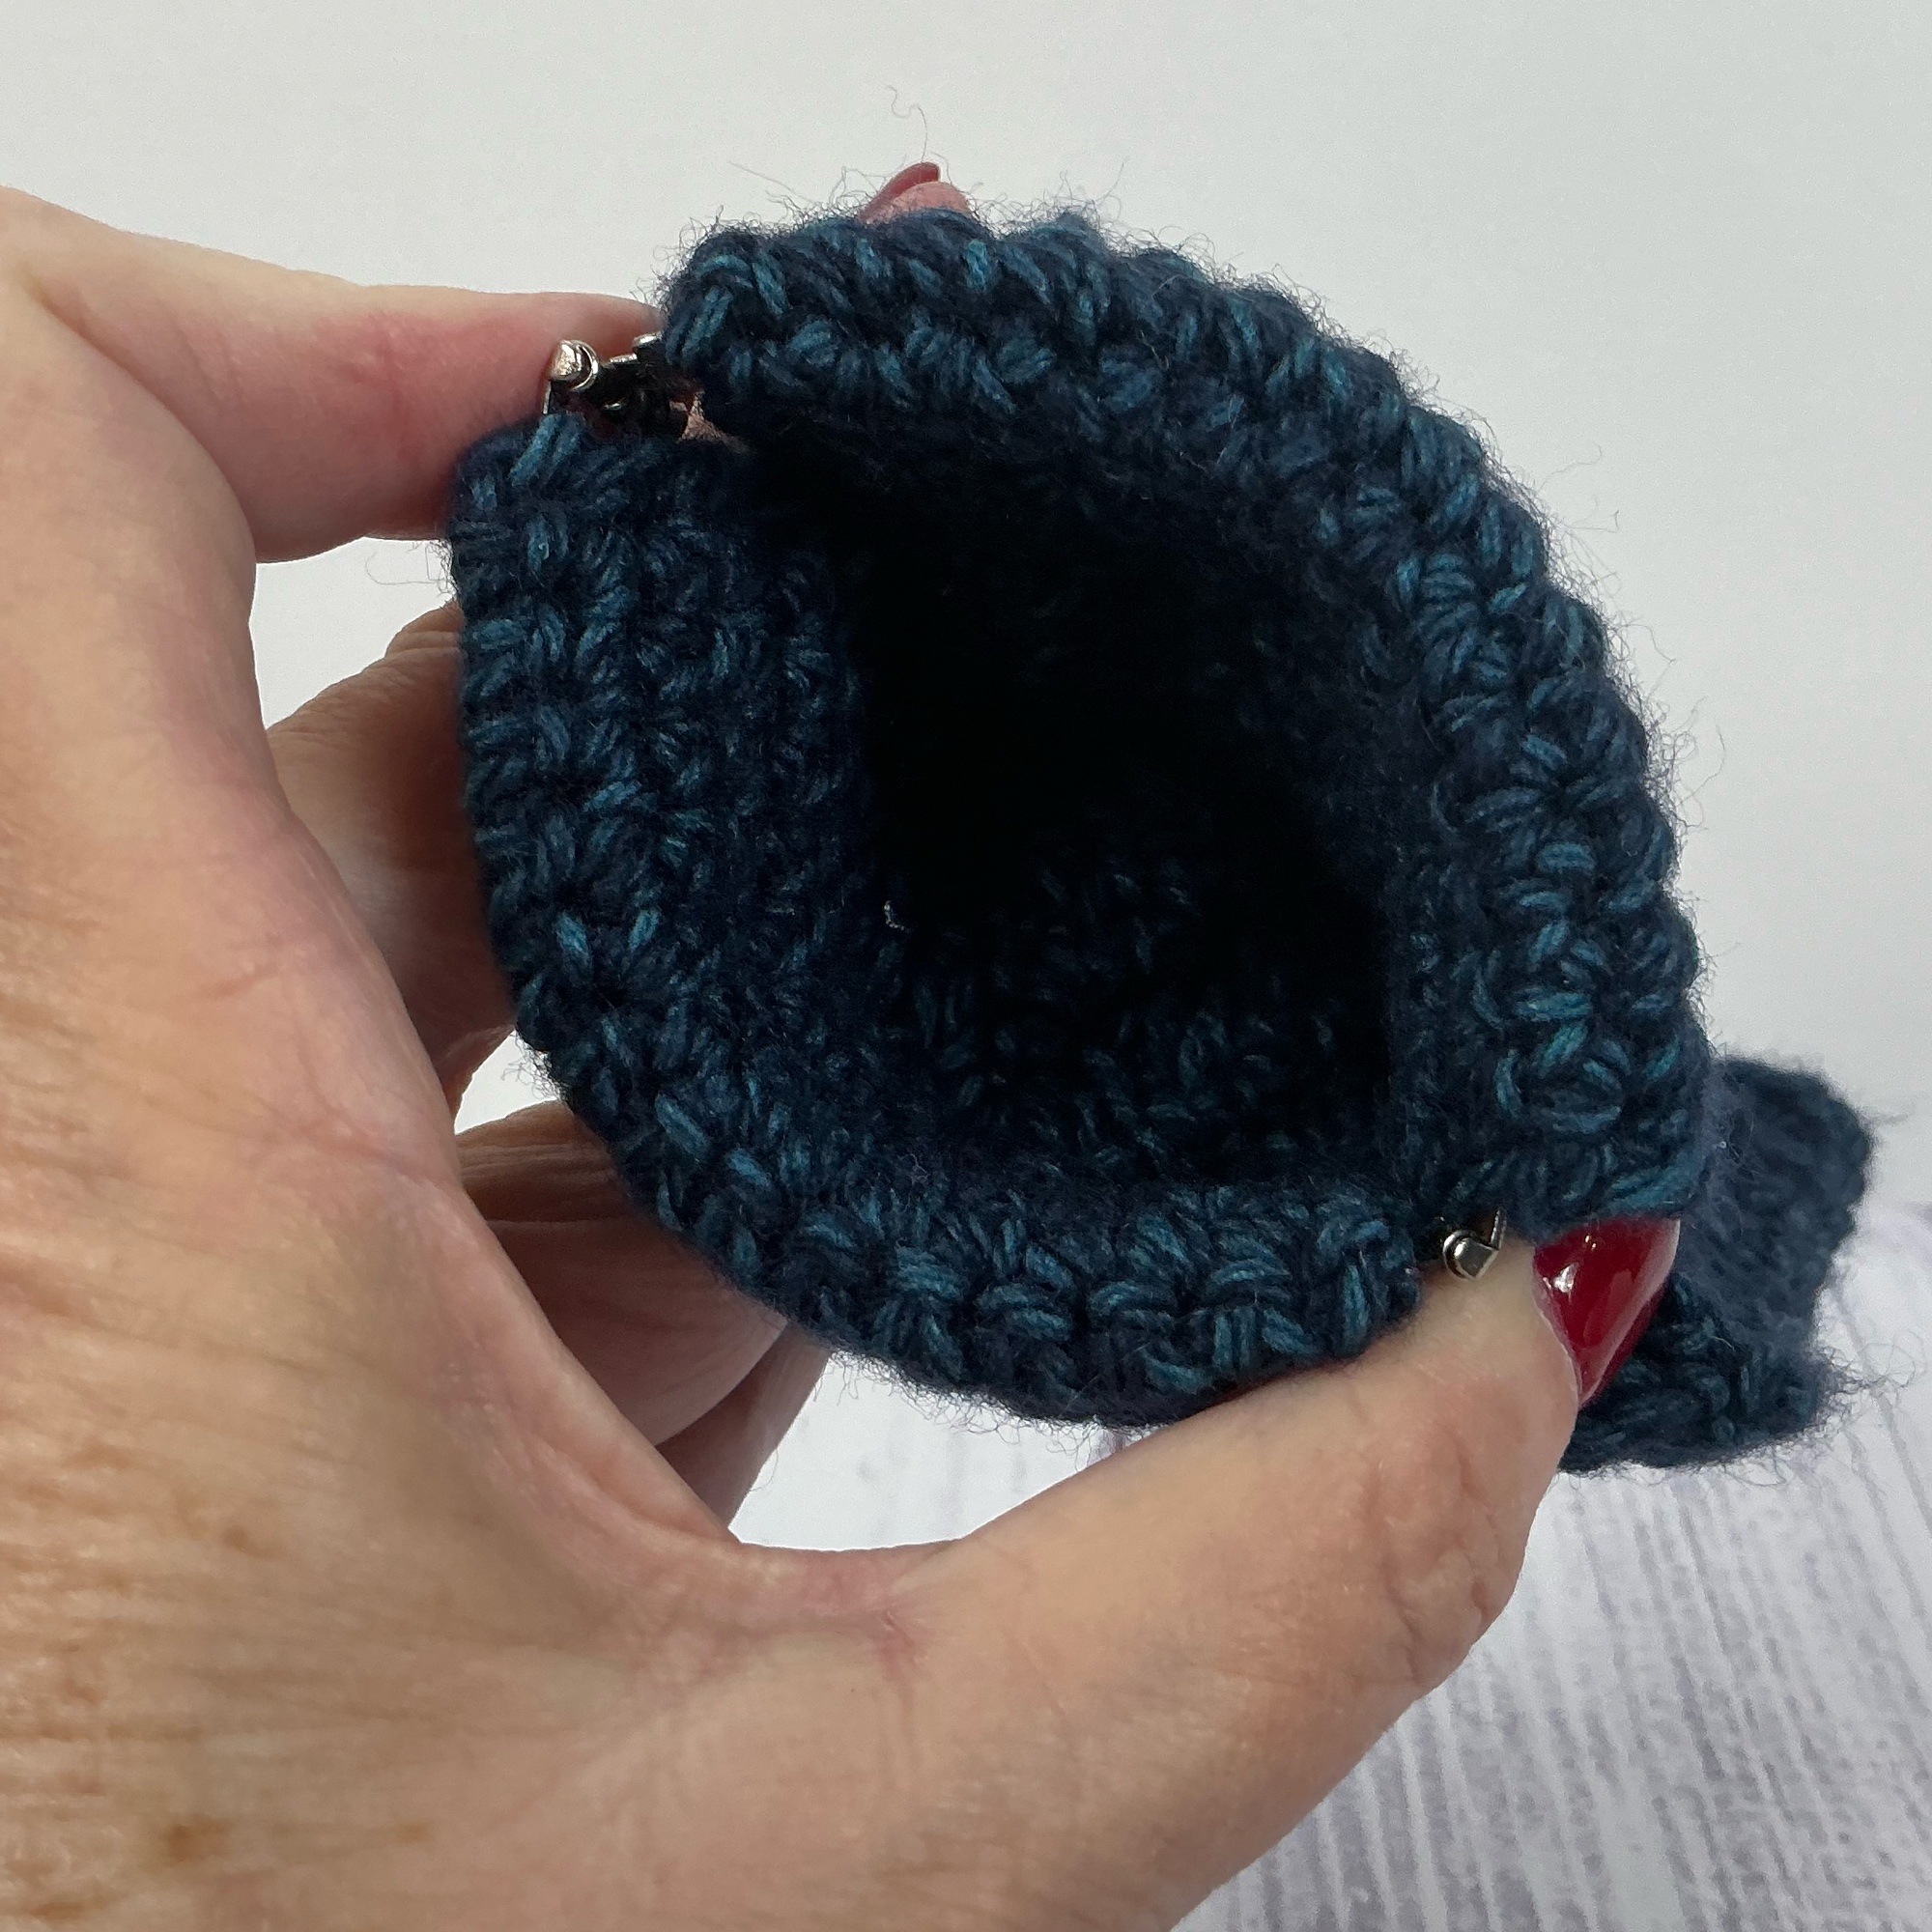
Slide the frame into the top casings, making sure the little tab is facing up. See video if you need a little extra visual help.
Hold the two parts of the frame together and drop the tiny rod from the top down to join them. Use the pliers to fold the top tab down so the rod can’t slide out.